It's Time to Give Pickled Red Onions the Credit they Deserve
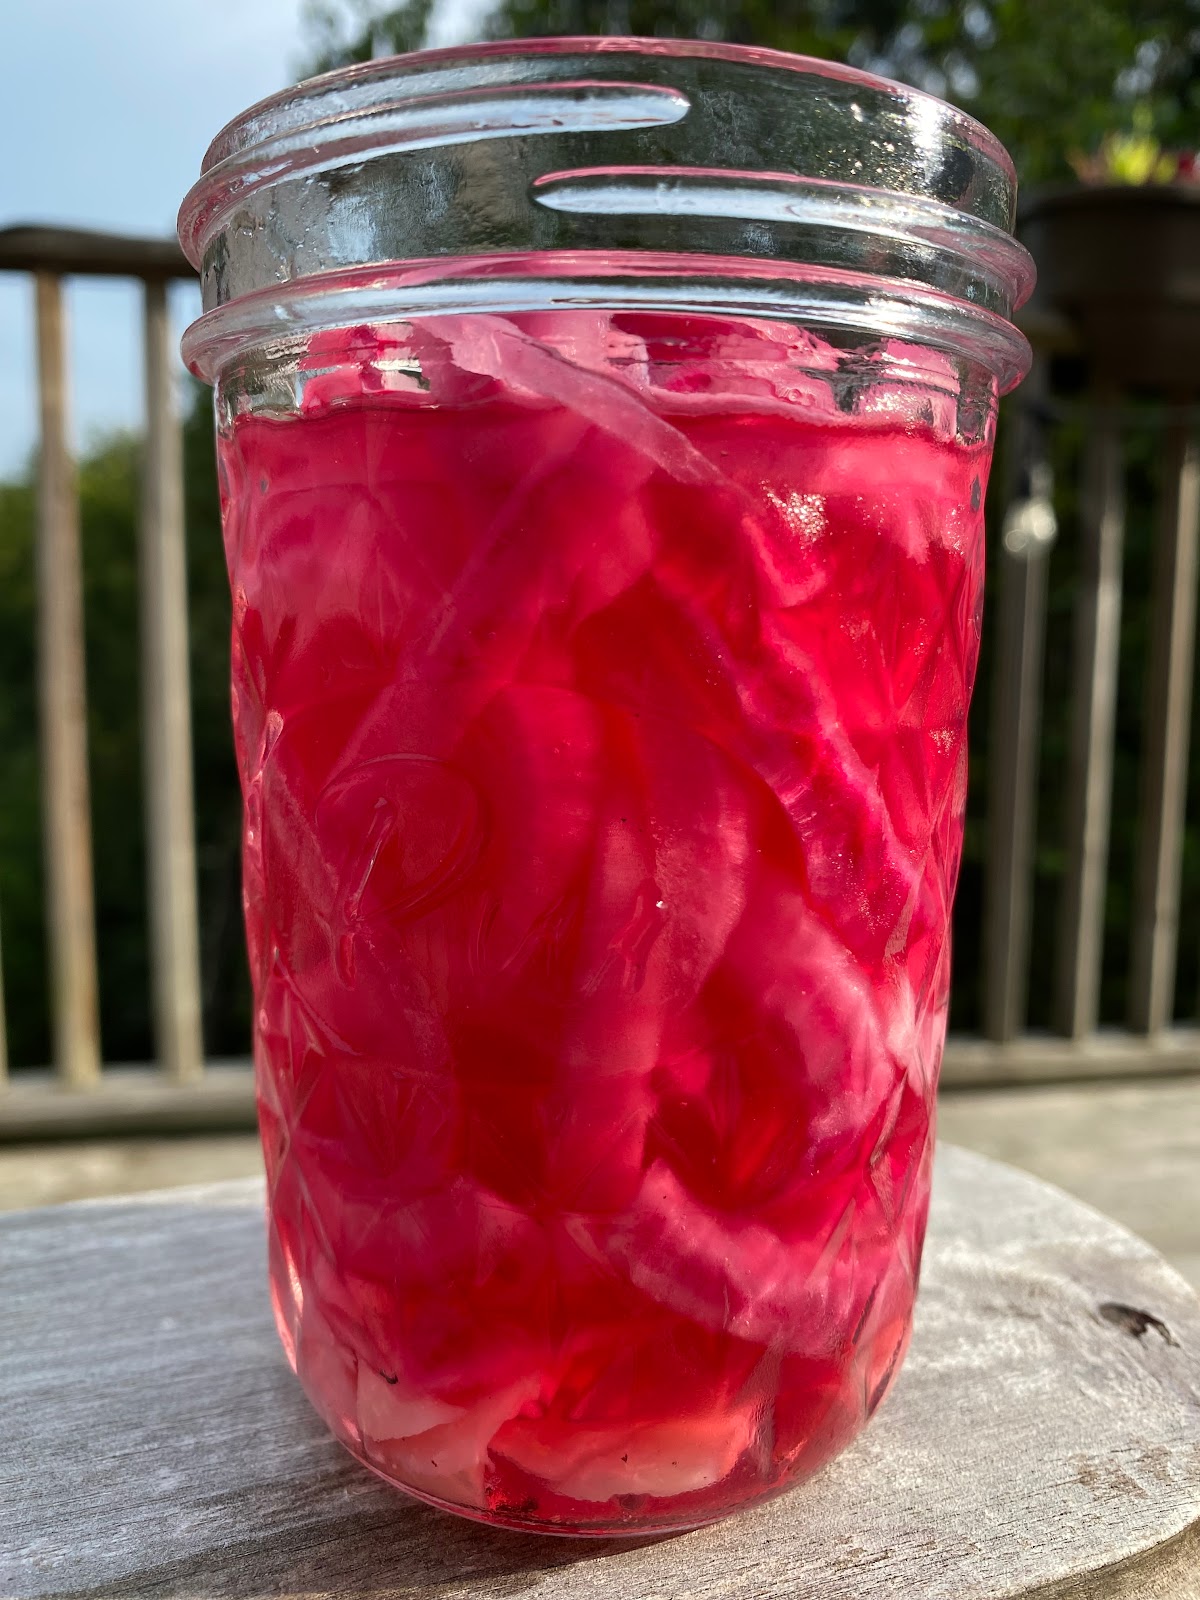
And just LOOK at that gorgeous color!
You might see delicious babies these at your favorite taco stand, but we've yet to find them at the grocery store. Fortunately, they're easy to make, one recipe makes a ton, and they last a long time in the fridge.
Imagine this scenario: It's almost dinnertime. You haven't been to the grocery store in a while, but you have a few things left you need to use up, but gosh are they boring. You hear the sweet sirens of takeout calling your name... What happens next?
Do you:
A) Make what you have at home, even if you don't really want it? or
B) Order takeout, baby!!!!
If you have a crunchy, punchy jar of pickled onions around, it can make option A) THAT much more appealing!
Pickled red onions are an awesome way to elevate a boring dinner to something you're excited to eat.
They're great to jazz up sandwiches, rice & beans, scrambled eggs, tacos, salads, or even just on top of roasted veggies!
Nutrition:
While the recipe calls for a lot of sugar and salt, don't get scared away!
From a food science perspective, the sugar and salt help break down the cell walls in the onion, allowing brine to enter the cells, making them softer and bursting with flavor. While some sugar and salt enters the cells of the onion, most of it stays in the brine, and you don't end up consuming it.
One recipe makes nearly 40 servings, so if you use only a few slices on each meal, the sugar and sodium content isn't too crazy. Even if you consume 1 tbsp of the brine with each serving, you'd only get 116 mg of sodium, which is under the recommendations for a low sodium diet (<120 mg for a single ingredient). Same with sugar: if you include 1 tbsp of brine each serving, you're looking at about 1 gram of carbohydrates, or 4 calories from sugar, which will not have a significant impact on your health.
Finally, consider what you're eating them with. If pickled onions help you stay home and eat something you've made yourself, it's probably much less sodium than you would've gotten if you'd gone to a restaurant. If you add them to, say, a rice-and-beans burrito bowl, that dinner would have way less sodium than something like pad thai or a cheeseburger.

Ingredients
- 1 cup water
- 1 cup distilled white vinegar
- 1 tbsp kosher salt
- 1 tbsp sugar
- 1 medium to large red onion
- 1 clove garlic (option)
- 1 tsp whole pepper corns (optional)
- Put the vinegar, water, salt, and sugar in a saucepan on the stove on medium heat.
- While you wait for it to come to a boil, slice your onion and garlic as thin as you can with a sharp knife or a mandolin slicer.
- Find a heat-resistant jar (like a fairly new mason jar) that will fit your onion slices. (I find the 24 oz or pint-and-a-half mason jars perfectly fit one chopped onion and the brine. It's the straight sided wide mouth mason jar, but it can be a bit tricky to find). If you can't find a jar, a small deep bowl will work in a pinch.
- Put the sliced garlic and pepper corns in the bottom of the mason jar and pack the onions on top tightly. If you really squash them in, the sides of the jar hold them down so they can stay submerged under the liquid.
- Once the vinegar mixture (the brine) comes to a boil, take it off the heat, swirl it around for about 30 seconds to cool it slightly and make sure all the salt and sugar are dissolved as much as possible.
- Carefully pour the hot brine over the onions in the jar. It helps to put the jar in the sink for this step! You may not need all the brine, depending on your onions and your jar size. If you're using a larger jar, you may want to double the brine so you'll have enough to cover the onions completely.
- Let them stand on the counter for about 4 hours, then put them in the fridge (make sure they are completely cool before they go in the fridge- otherwise the jar could crack!). If you've made them in a bowl, find a smaller bowl you can set inside to help hold the onions under the liquid. You may want to stir them every so often as they cool.
- They're ready to eat once they cool down to room temperature, but sitting overnight in the fridge allows the flavors to meld.
The leftover brine + olive oil makes a great salad dressing! Experiment with ratios to figure out how you like it. It is quite a strong flavor, so your salad won't need much of this dressing.


Comments
Post a Comment